ART MATTERS
  • Home
  • Summer Art Sessions 2023
    • 2022 Summertime Blog
    • 2021 SUMMERTIME BLOG @ ART MATTERS
    • Memories of Past Summers
  • After-School Program 2022/23
  • Syllabus 2022-2023 School Year
  • More Photos of The New School 2021-22
  • World's Greatest Studio Tour
    • The Art Teacher's Art
  • ART ACTIVITIES TO DO AT HOME
  • Student Art Show 2020
  • This is Art Matters
    • Great Memories at Art Matters
  • The Art Teacher
  • BG Gallery Hop at Art Matters
  • Past Exhibits

4/19/2020

The Creative Challenge!

2 Comments

Read Now
 

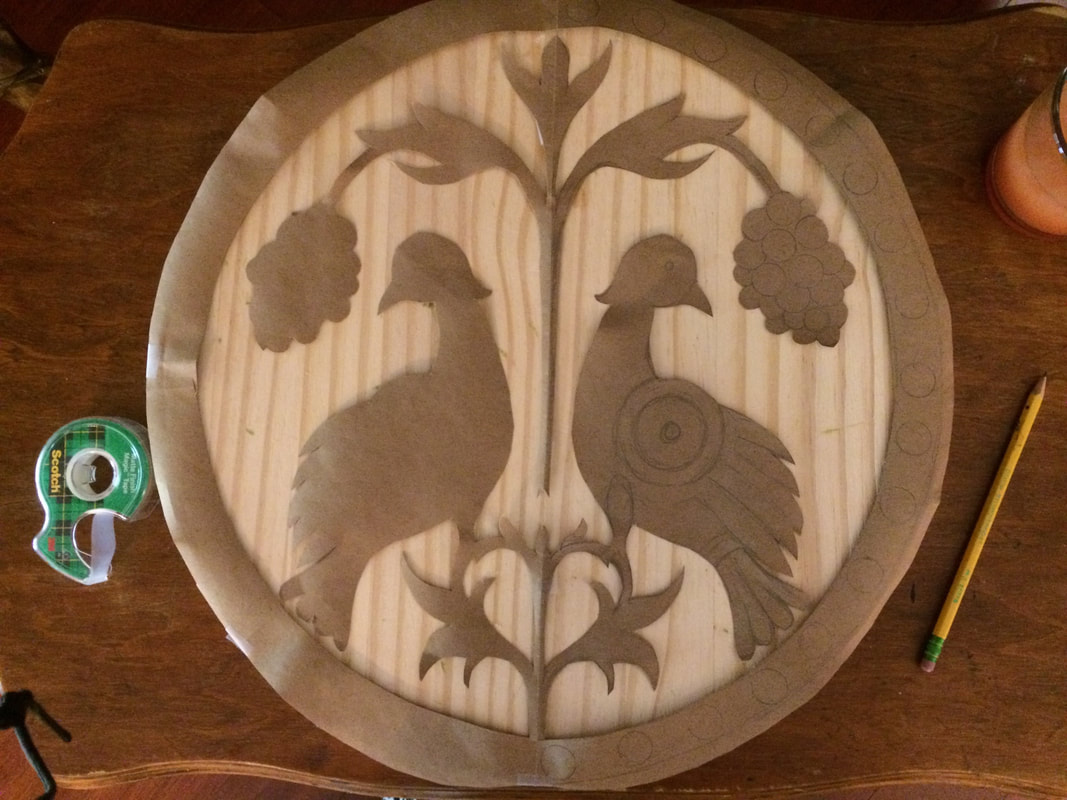
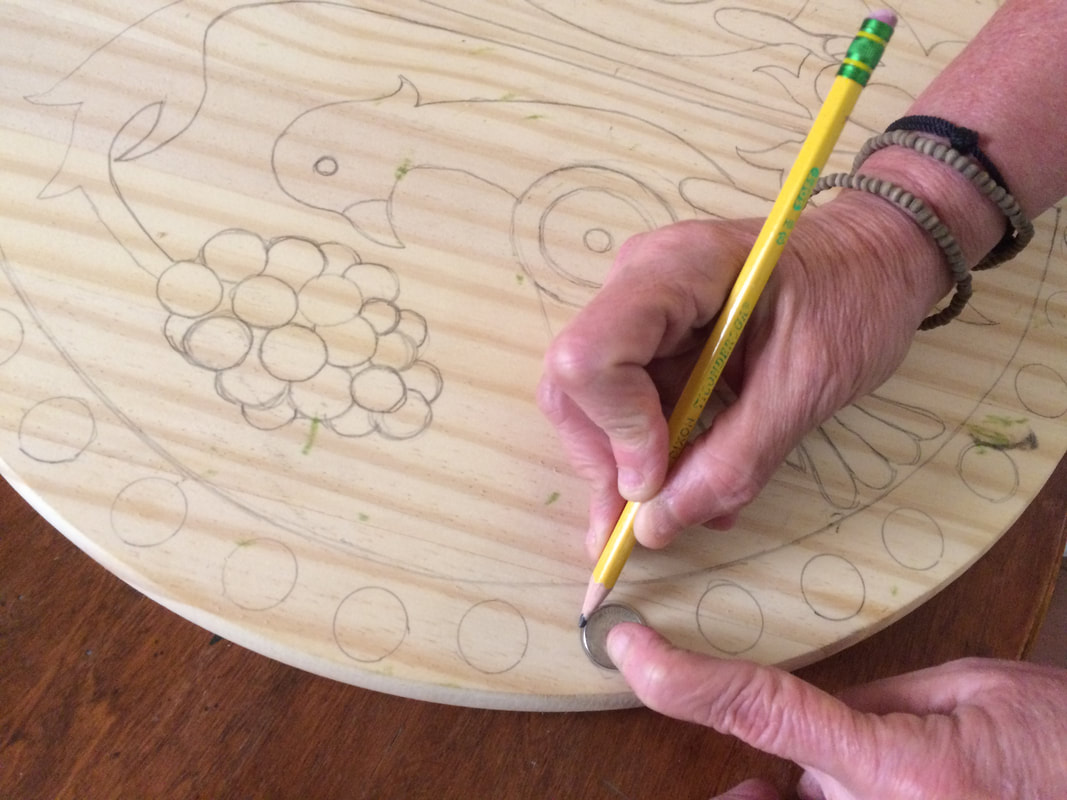
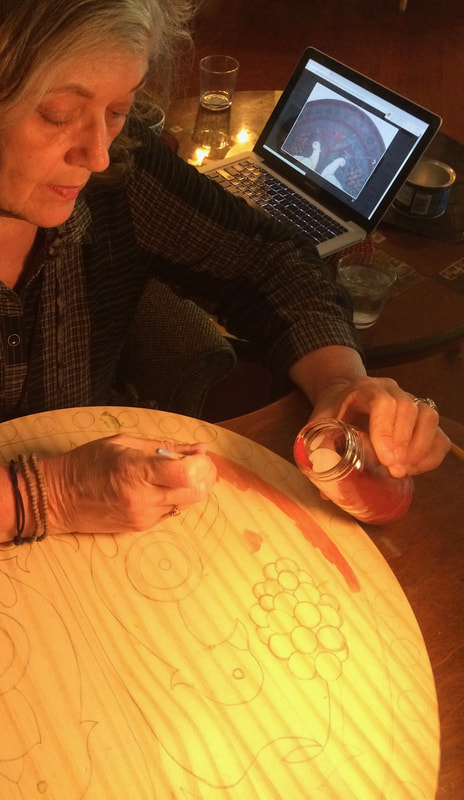
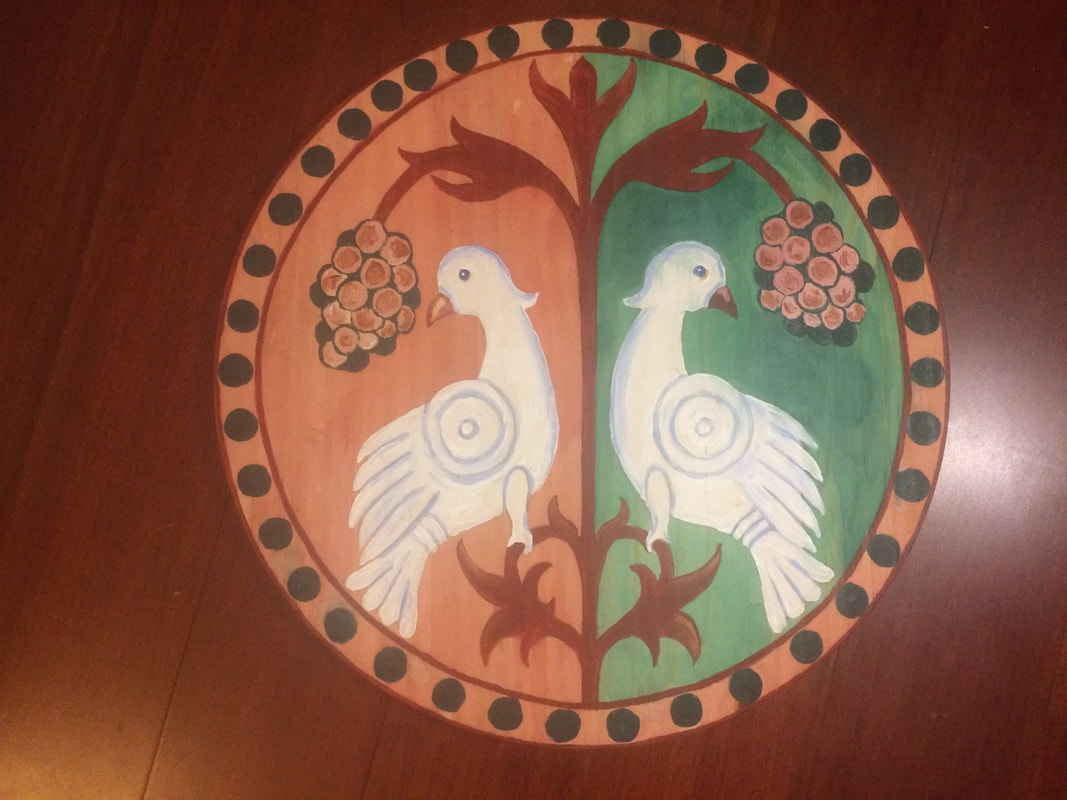
Instead of the visual arts, this week our activity is another type of art.  Kate Mori, Art Matters student, who recently moved back to Japan, sends us this global creative challenge!  Mrs. Christmas shared Kate's challenge with some friends and family members.  Check out the responses so far, by watching this video and see if you are inspired to rise to meet Kate's creative challenge!  We hope to hear from you!  (To send your response, attach it to an email to: 
 teresachristmas.artmatters@gmail.com

It will be posted here where others can see it!  Check back to see who responds! 
P.S.  Feel free to submit also what you think could be our next Creative Challenge!  
 
​

STUDENTS' RESPONSES:

Creative Choreography in this Youtube Video by Leah, age 11

This little music lover, who is also Milo's sister, shows great potential!!!  

Video from Sarah Grace, age 13!

Family Fun Video by Camden, Miles and Aurora!

Kate's Grandfather Responded to Her Challenge! 
​He made a dance video too!  

Harper, age 7!  Dance or Visual Art???

Share

2 Comments

4/12/2020

2 Spring Time DIY Art Projects!

5 Comments

Read Now
 

PENNSYLVANIA DUTCH HEX SIGNS
PICTURE INSTRUCTIONS:

1. DRAW A CIRCLE, CUT IT OUT, FOLD IN HALF, DRAW A PATTERN & CUT IT OUT WHILE FOLDED.
2. PLACE PAPER PATTERN ON WOOD & DRAW AROUND PATTERN.
I USED A DIME TO DRAW AROUND REPEATEDLY TO MAKE A PATTERNED BORDER.
4. PAINT THE BACKGROUND FIRST.
5. I HOPE YOU LOVE YOUR FINISHED DESIGN! THE COLORS YOU CHOOSE CAN MAKE A GREAT DIFFERENCE!
6. HANG YOUR SIGN OUTSIDE! A GARDEN IS A GREAT PLACE FOR IT!

PENNSYLVANIA DUTCH INTERNET RESOURCES:

SYMBOLISM: THIS ONE IS A WISH FOR GOOD HEALTH AND WELL BEING, WHICH I WISH FOR YOU!
I found this website to be helpful in learning about the traditional symbols used in Pennsylvania Dutch designs and their meanings:  ​http://freepages.rootsweb.com/~aferm/genealogy/pennsylvania/hex.htm


​POLISH PAPER CUTTING
Internet Resources:

I found this website to be helpful in learning about Polish Paper Cutting or 
"Wycinanki" pronounced Vee-chee-non-kee is the Polish word for 'paper-cut:
https://sitesandstories.wordpress.com/2015/06/30/hands-on-wycinanki/
Picture
I used the very same pattern to make my Polish paper cut design, as I used above when I made my Pennsylvania Dutch design.  Both traditions are different, so I looked closely at many examples of both, but they do have similarities- mainly the subject matter.  I cut one continuous design on brown paper, which is how they are traditionally done.  Then I had bright colors of paper, so I used those to add color.  Feel free to use any kind of color you can find.  Sometimes I found Polish paper cuts that had no color added.  Brown paper on black paper would be fine too!  Mine is certainly more simple and not as intricate as the traditional Polish designs.  You can make your designs simple also.  Please send picture of your art to post below!  Happy Spring!

Student Art Gallery:

Picture
This amazing 6 year old, made a cut-out with symmetry and glued
​it as asymmetrical  design, which looks great!  So proud of her!  
Great Symmetry done with chalk on brown paper by Jane!
Creative use of household materials to make art! Thanks, Leah!
Creative Paper Cut with Symmetry by Leah!
Intricate paper cutting by Albert, age 9!
Emika and her bird design with symmetry!
Beautiful faces and beautiful art: Emika and her sister!
Beautiful symmetrical design by Maggie S, age 10. A symbol of well-being inspired by India. Colorful yet, Peaceful.
Simple, yet elegant symmetrical paper cut by Lylah, age 10.
A symmetrical spring time design by Khloe, age 10!
(I'm so happy to hear from any of my art students about what they have been doing with their time at home.)  Graham has this to say about the maps he has been making:  "This map, done in a traditional fantasy art style, is of the mythical land, Quinnlandia. It was created for the artist's teacher, who has a large sign over his door saying "Welcome to Quinnlandia". The features featured on this map are entirely made up, and if any of them turn out to be real, please don't panic and continue scrolling through your feed. If you want to try making maps like these, WASD20 on youtube has some pretty good tutorials on various parts of mapmaking."
Below are creatures that one of my teenage students created using pipe cleaners, fabric and a glue gun:
A glimpse of Camille's art space and work in progress.
Excellent work by Camille, age 16!
A glimpse into the sketch book of Emma S., age 17, shows lots of different techniques taking place!
Luna, age 7
Luna's Shoe Art!
Harper, age 7

Anna Kate and Madelyn have a Family whose been working on lots of art projects:

Anna Kate making art with random things found around the house.
More art with random things by her sister, Madelyn.
The art of Spring Time Cookie decorating by the whole family!
Anna Kate and Madelyn also decorated their rooms with their own photograhpy!

Share

5 Comments

4/4/2020

Week 3 of Art Activities for Young Artists

1 Comment

Read Now
 

AN INK BATH GIVES LAST WEEK'S ART A NEW LOOK!
THIS WEEK WE MAKE ART WITH A HAMMER!


As you will see, if you watch the video, one of the choices this week, is to return to the art you did with a crayon last week and add more crayon.  Build up enough wax that you will be able to give your art a new look with an ink bath.  I actually crumpled up the crayon art I did last week and dipped it into a mixture of water and a bit of black ink.  If you don't have any ink at your house, you could just crumple it up -then un-crumple it- and paint it with black watercolor.  If you don't have any black watercolor, consider brewing a very strong tea or dark coffee.  (Let that cool and the longer you let it sit, the darker it will get.  If you dip your crumpled crayon art into the dark tea potion- (or be like the Rolling Stones and "Paint it Black") the very thick wax you put on your paper will resist the new dark color you are adding and it will only sink into the cracks you put into the wax when you crumple it.  Be careful not to tear your art when you un-crumple it! Hopefully the darker crackles you put throughout the art, will give it a very interesting look.  It will no longer look like crayon, that's for sure.  It may look a bit like a batik, which is an Indonesian fabric design made with wax and dye.  I like my art much better now since I did that.  (I did crumple and dip it twice, before I liked it a lot.) Remember that this will not work for you at all unless you take the time to put a great deal of wax on the paper, by bearing down hard and putting on layers of crayon.  
Now for this week's activity:  For this you need a tin can, a big nail, a hammer and a good design you made on paper, with pencil, that will just fit onto the can.  You also need a permanent marker or sharpie to transfer that paper design to the can.  After you apply the design to the can, you will need to fill your can with water and put it in the freezer over night.  The next day, you should lay the frozen can on a pillow before you begin tapping your holes.  Each dot you drew onto the can will become a hole now.  Take your time and your punched dot design will look great!   
I think if you are 10 or 11 years or older, you can do this activity- no problem.  If you are a bit younger, you might need some help- and do let your folks know what you are doing!  
I was happy with the way my "Mexican"  tin candle holders turned out.  I found I did not have to tap very hard on the frozen tin can at all to make the punched design.  After you watch the video, if you find that you have any questions about doing this activity, please ask right here on this blog.  You can write to me- just type in your questions or comments here and I will reply to you!  In fact, I will love hearing from you!  
After you punch in all your holes, be careful, because the inside of the can will be rough and could scrape or scratch your hand or fingers!  Be sure you have permission before you try putting a candle inside and especially before you go lighting any candles!  
There is still a third choice this week:  I am still doing value drawings of my friends.  I mailed one last week to a friend and I was surprised how happy it made her.  I traced a line drawing over the value drawing, before I mailed it.  I want to  save a copy of each drawing I am making of my friends, because it is my secret plan to turn my friends into cartoons later.  Don't tell them that!  We will see how this plan unfolds...  Hope you try making a drawing of a friend that you are missing right now.  If you send your drawing to them (maybe electronically or maybe through snail mail,) I bet it will make them really happy.  I Hope to hear from you how your art goes this week.  I know you have your own ideas!  Please share whatever you decide to do!  
Picture

STUDENTS' RESPONSES TO WEEK 3 ART ACTIVITY:

Kate is sending crayon art from Japan!
Close-up of Kate's lovely crayon art!
Kate eats fresh vegetable in Japan, not from cans. So she punched holes in bamboo! Beautiful!
Anonymous Unicorn Artist Responds to Week 3 Art Activity! Don't worry your secret identity is safe with me!
Beautiful work! Thanks for sharing, Lucy! (Oops!)
Emika and her beautiful tin art!
Kyo and Keis sending art from Japan! Bearing down with crayon, their art looks great!
Anna sent this beautiful crayon "painting" from Japan!
Beautiful- The artist and the portrait! Drawing people is also a choice! Great job by Sarah P., age 12.

Share

1 Comment
Details
    "Still — in a way — nobody sees a flower — really — it is so small — we haven't time — and to see takes time, like to have a friend takes time..." -Georgia O'Keeffe

    Author

    Teresa Christmas is an artist and art educator.  She is the owner of Art Matters, a mother and a GrandMaMa'.

    Archives

    May 2020
    April 2020
    March 2020

    Categories

    All

    RSS Feed

Proudly powered by Weebly
  • Home
  • Summer Art Sessions 2023
    • 2022 Summertime Blog
    • 2021 SUMMERTIME BLOG @ ART MATTERS
    • Memories of Past Summers
  • After-School Program 2022/23
  • Syllabus 2022-2023 School Year
  • More Photos of The New School 2021-22
  • World's Greatest Studio Tour
    • The Art Teacher's Art
  • ART ACTIVITIES TO DO AT HOME
  • Student Art Show 2020
  • This is Art Matters
    • Great Memories at Art Matters
  • The Art Teacher
  • BG Gallery Hop at Art Matters
  • Past Exhibits